Infant Optics Monitor Not Turning On (Fixed)
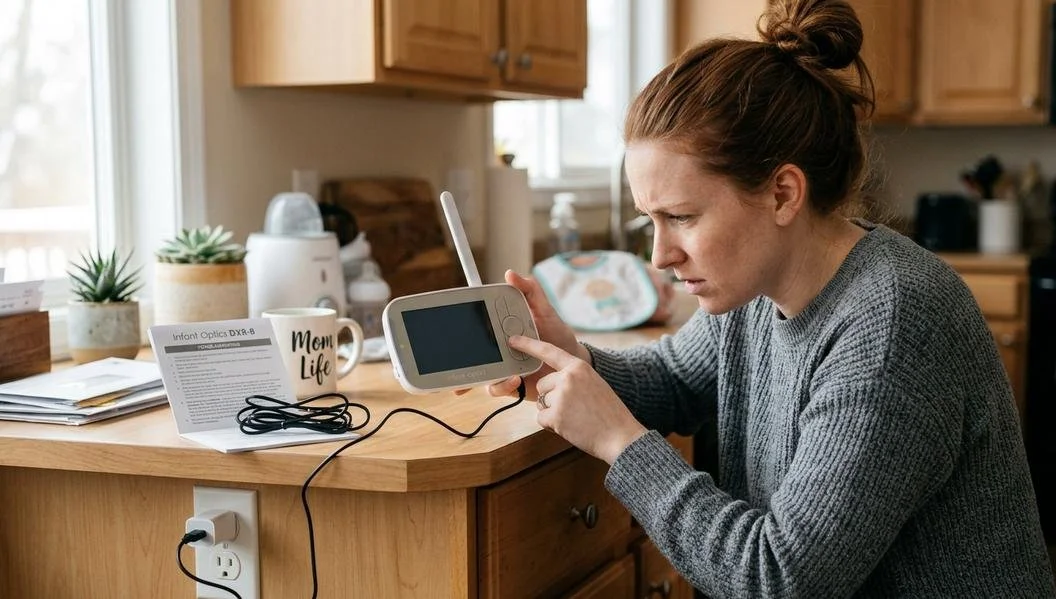
Few things are more frustrating than reaching for your baby monitor and realizing it won't turn on. You press the power button, wait a few seconds, and nothing happens.
The good news is that a monitor that won't power on doesn't always mean it's broken.
In many cases, the issue is something simple like a drained battery, a faulty charger, a dirty charging port, or a system glitch.
These problems can often be fixed in just a few minutes without spending money on a replacement.
If your Infant Optics monitor isn't turning on, work through the troubleshooting steps below. One of them will likely get your monitor back up and running.
Why Is My Infant Optics Monitor Not Turning On?
There are several reasons an Infant Optics monitor may stop powering on.
The most common cause is a dead battery. If the monitor has been running for a long time or hasn't been charged recently, the battery may be completely drained. Some devices need a while on the charger before they show any signs of charging.
Charging accessories can also cause problems.
A damaged cable, worn-out adapter, or loose connection may prevent the battery from charging properly.
Another possibility is a dirty or damaged charging port. Dust, lint, and debris can build up inside the port over time and interfere with charging.
Software glitches are another surprisingly common cause.
Like phones and tablets, baby monitors can occasionally freeze. When this happens, the device may appear completely dead even though it's still functional.
Also Read: Nanit Pro Vs Nanit Plus
If your monitor is several years old, the battery itself may be nearing the end of its lifespan. Rechargeable batteries naturally lose capacity over time and eventually need replacement.
How To Fix An Infant Optics Monitor That Won't Turn On
Start with the easiest fixes first. In many cases, you can solve the problem without any special tools or technical knowledge.
Here’s what to try:
#1 Charge The Monitor For At Least 30 Minutes
If the battery is completely drained, don't expect the monitor to turn on immediately after plugging it in.
Connect the monitor to its charger and leave it alone for at least 30 minutes.
In some situations, a deeply discharged battery needs extra time before the screen lights up or charging indicators appear.
Avoid repeatedly pressing the power button during this process. Just let the battery recover.
After half an hour, press and hold the power button for several seconds and see if the monitor starts normally.
#2 Check The Power Source
Sometimes the monitor isn't the problem at all.
Try plugging the charger into a different wall outlet. If you're using a power strip or surge protector, connect it directly to a wall outlet instead.
You can also test the outlet with another device, such as a phone charger or lamp. If that device doesn't work either, you've found the problem.
A faulty outlet can easily make it seem like the monitor has failed when it's actually not receiving power.
Also Read: Doona Alternatives
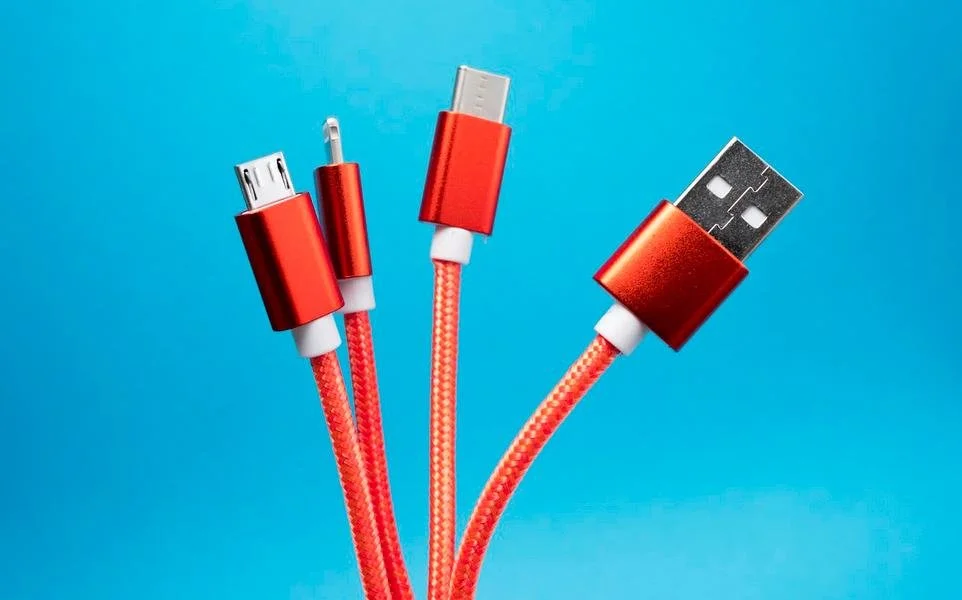
#3 Inspect The Charging Cable And Adapter
Charging cables go through a lot of wear and tear. They get bent, twisted, stepped on, and stuffed into bags.
Take a close look at the cable and adapter. Check for:
Frayed wires or exposed insulation
Bent connectors
Loose charging ends
Signs of overheating or damage
If you have access to a compatible replacement charger, test the monitor with it.
A damaged cable is one of the easiest problems to overlook and one of the most common reasons devices stop charging.
#4 Clean The Charging Port
A surprising amount of lint and dust can collect inside charging ports.
Use a flashlight to inspect the port carefully. If you notice debris inside, gently remove it using a wooden toothpick or a can of compressed air.
Be careful not to force anything into the port or damage the internal connectors.
Once the port is clean, reconnect the charger and see if the monitor begins charging normally. Many people are surprised to discover that a tiny amount of lint was the only thing preventing the connection.
#5 Perform A Hard Reset
Sometimes the monitor's software freezes and becomes unresponsive.
A hard reset can clear temporary glitches and restore normal operation.
The exact reset procedure may vary slightly depending on your Infant Optics model, but generally you'll want to:
Disconnect the charger
Turn the monitor off if possible
Press and hold the power button for several seconds
Reconnect power and restart the device
If your model includes a reset button or reset pinhole, consult the user manual for the proper steps.
Also Read: Baby Items That Start With E
After resetting, many frozen devices power back on as if nothing ever happened.
#6 Try Powering The Unit While Plugged In
This step can help identify battery-related problems.
Connect the monitor directly to power and attempt to turn it on while it's plugged into the charger.
If the monitor powers on only when connected to the charger but shuts off as soon as it's unplugged, the battery is likely failing.
That doesn't necessarily mean the entire monitor needs replacement. In some cases, replacing the battery is enough to restore normal performance.
Signs The Battery Needs Replacement
Even the best rechargeable batteries don't last forever.
If your Infant Optics monitor is a few years old, battery wear becomes a much more likely explanation for power problems.
Some common warning signs include the monitor losing charge unusually fast, shutting down unexpectedly, or refusing to stay powered on for long periods.
Another major clue is when the monitor works perfectly while plugged in but immediately turns off once disconnected from power.
That's often a strong indication that the battery can no longer hold a charge.
Pay attention to overheating as well. If the battery becomes excessively hot during charging or appears swollen, stop using the device and replace the battery as soon as possible.
Battery problems tend to get worse over time rather than better, so addressing them early can save a lot of frustration.
When To Contact Infant Optics Support
If you've tried all the troubleshooting steps and the monitor still won't turn on, it may be time to contact Infant Optics support.
This is especially important if the monitor is still under warranty. The company may be able to repair or replace the device depending on the situation.
Support can also help diagnose less obvious issues involving internal components, charging circuits, or hardware failures that aren't visible from the outside.
Before contacting support, gather some basic information including the model number, approximate age of the monitor, and details about the troubleshooting steps you've already completed. This can speed up the process and help support representatives identify the issue more quickly.
Physical damage, water exposure, or signs of internal failure are also good reasons to seek professional assistance rather than continuing to troubleshoot on your own.
Bottom Line
If your Infant Optics monitor isn't turning on, don't assume it's permanently broken. Most power issues are caused by simple problems like a drained battery, charging issues, a dirty charging port, or a temporary software glitch.
Start by charging the monitor for at least 30 minutes, checking the power source, inspecting the charger, cleaning the charging port, and performing a hard reset.
These fixes solve many cases without requiring repairs or replacement parts.
If the monitor only works while plugged in, the battery may need replacement. And if none of the troubleshooting steps work, contacting Infant Optics support is the next step.